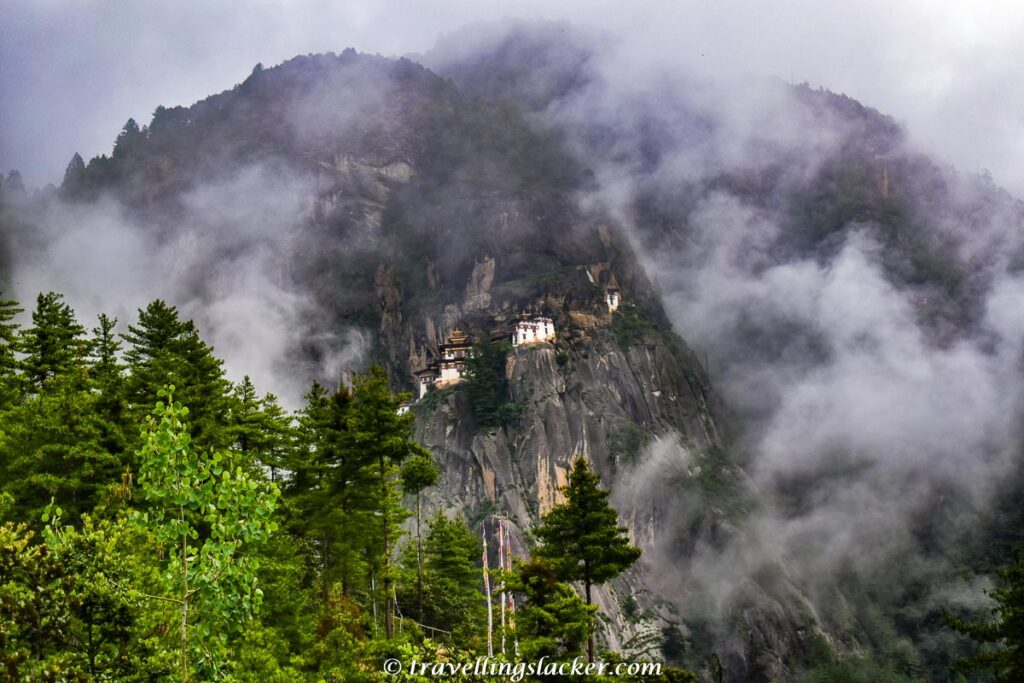
If there is one attraction in Bhutan that is immediately identifiable to even non-travellers, it is the Tiger’s Nest Monastery. The sheer precarious location of it clinging onto the rockface makes sure that it never goes unnoticed.
It took me eight months to write about it because it’s already been discussed widely and not sure if I had anything new to add. But anyway, let me do it now as I think there are a few new pieces of information that can be useful for people.
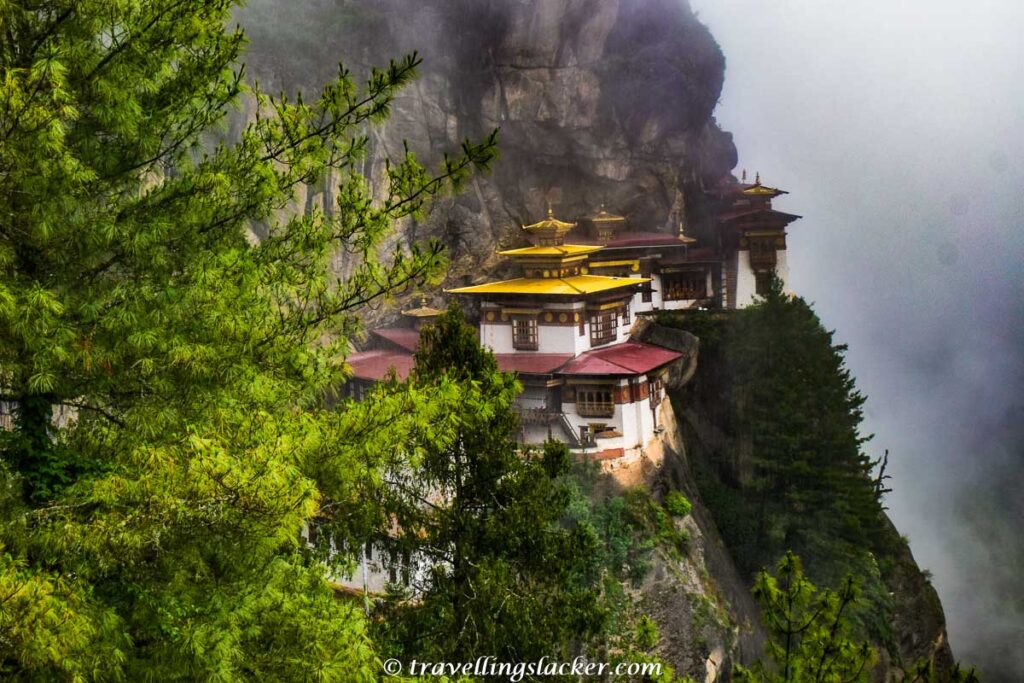
Although popularly known as the Tiger’s Nest, it is actually called Paro Taktsang and is a revered temple and monastery built in 1692. The sacred structure sits at 3,120m (10,240ft) above sea level, perched on the edge of a cliff in the upper Paro Valley.
Legend has it that Guru Padmasambhava, also known as Guru Rinpoche, flew to this location on the back of a tigress, thus giving the monastery its name. Guru Padmasambhava is credited with introducing Buddhism to Bhutan and is highly revered in Tibetan Buddhism. The history of Tiger’s Nest dates back to the 8th century when the monastery was first built. Over the centuries, it has undergone several renovations and expansions, with the current structure dating to the 17th century. The monastery consists of several temples and meditation caves, each with its own significance and spiritual aura.
Reaching Tiger’s Nest
Paro is the nearest main city in Bhutan for reaching Tiger’s Nest, around 11-12 KMs away. We were already staying at a hotel in Paro as I have described in my previous posts. It was our last day in Bhutan. We woke up at around 9 am after a hefty breakfast.
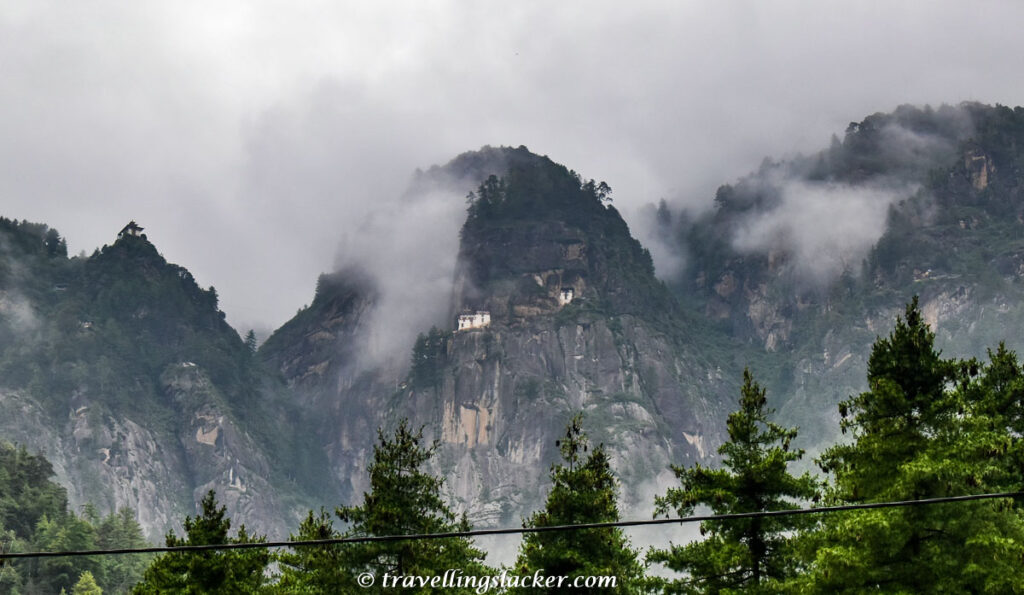
As a guide is compulsory in Bhutan for everything according to new policies, we couldn’t explore on our own. Our guides arrived too by then and we drove towards the starting point. It was a quick 40 minute drive to a mostly forested region but the day was somewhat rainy and foggy, which made us wonder if we’d get the right views but the weather cleared with a gust of wind and the Tiger’s Nest became visible even from the road as we stopped for a few shots.
Entry Fees for Tiger’s Nest: To Pay or Not?
Here’s something interesting. The ticket rates are high at BTR 1000 per head for Tiger’s Nest but it is only required if you want to go inside the monastery. Locals naturally do not need to pay this but foreigners need to pay it.
I even heard that recently the price was hikes to BTR 2000 per head but people stopped going and so it was reduced back to BTR 1000, which is still high. With a heavy heart, we choose to simply do the trek for free by avoiding the final stretch including the interiors of the monastery.
Now, I’ll never suggest such a half-baked trip but you should do the whole thing as far as possible. But I have already described in the previous post that the new exorbitant fees for tourists made me almost bankrupt even as I entered Bhutan and after that, I was always looking for ways to cut costs! I’m not happy about this but that’s how it was!
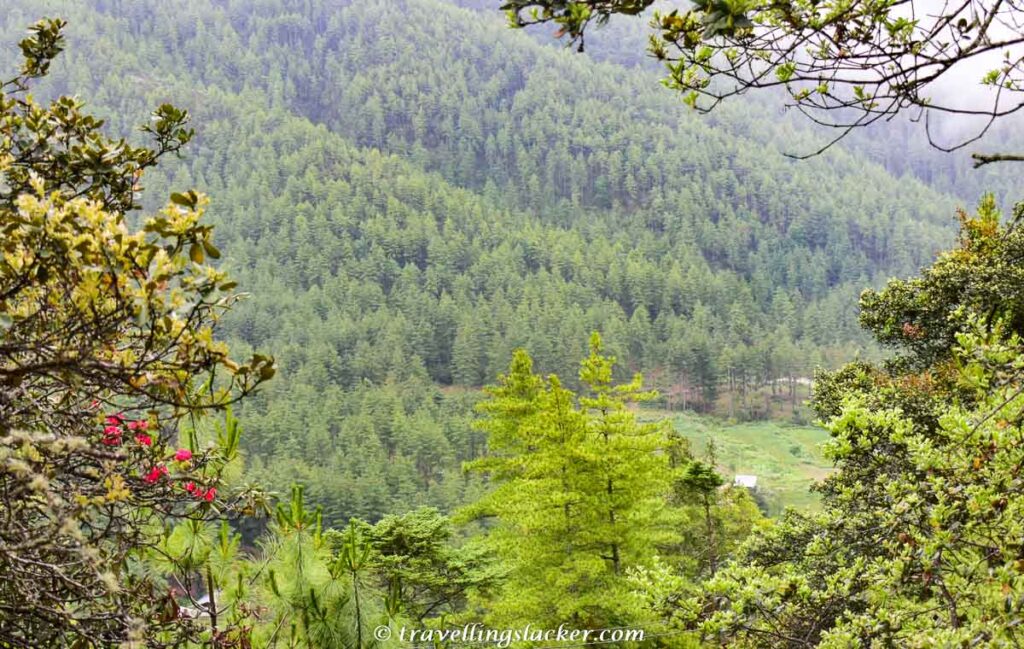
The Hike and Time Required
Overall, the hike is around 4-5 KMs on the Tiger’s Nest and should take close to two hours for an average person. We started and progressed quickly. The first part was a gradual ascent but after half an hour we reached a small watermill chakra (Buddhist Chakra place in a hilly stream, so it rotates due to the flow of water) and after that the hike got a bit steeper.
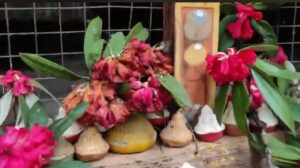
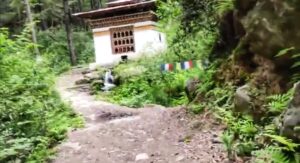
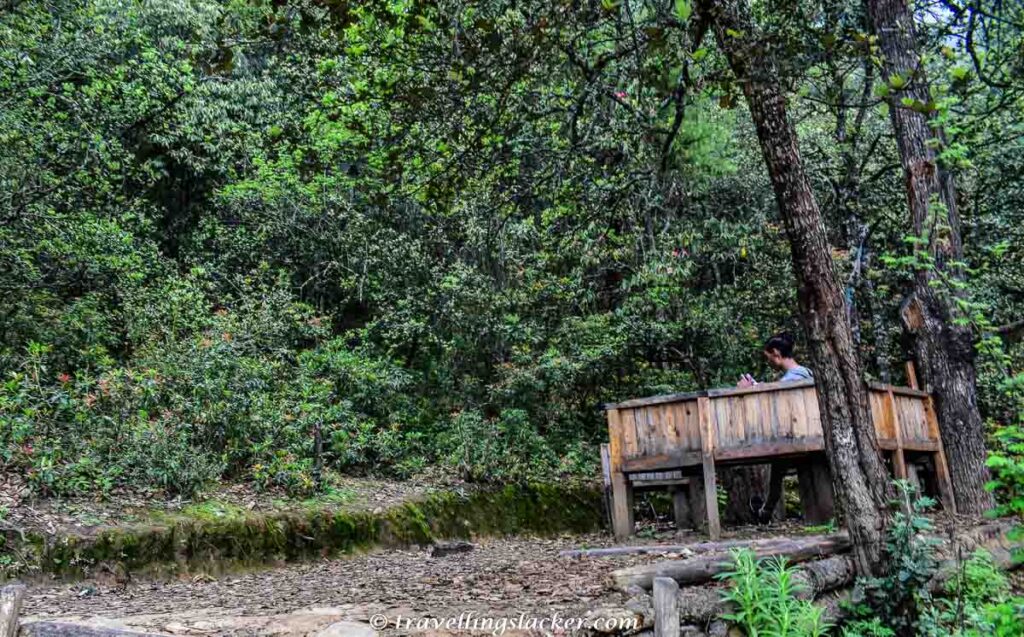
Anyway, we quickly started hiking up through well-maintained stairs without much trouble. As everything is strictly controlled in Bhutan, you won’t see random vendors selling refreshments here and benches are present after every kilometre.
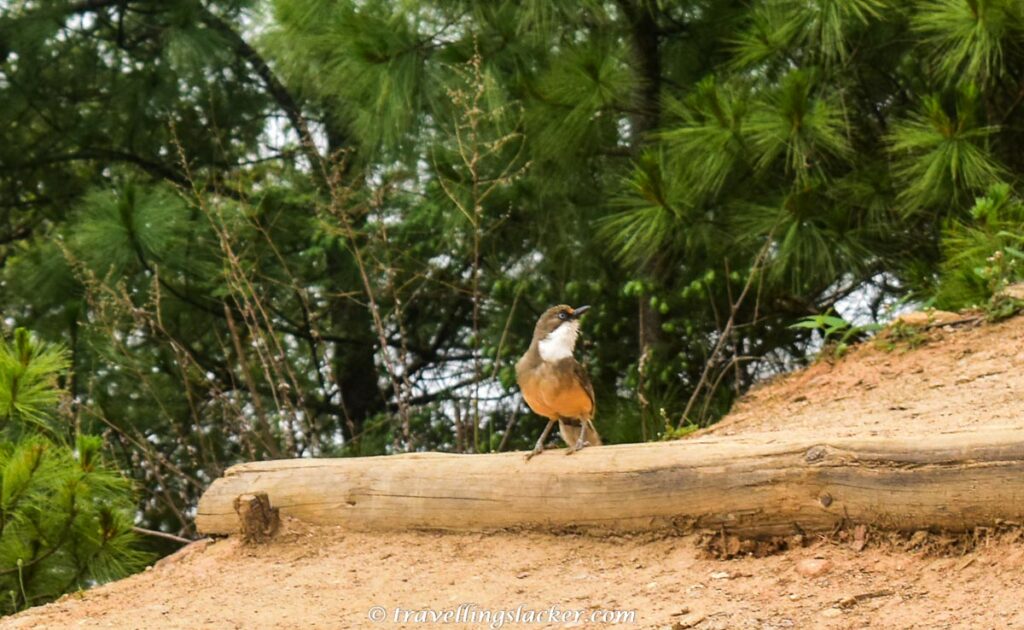
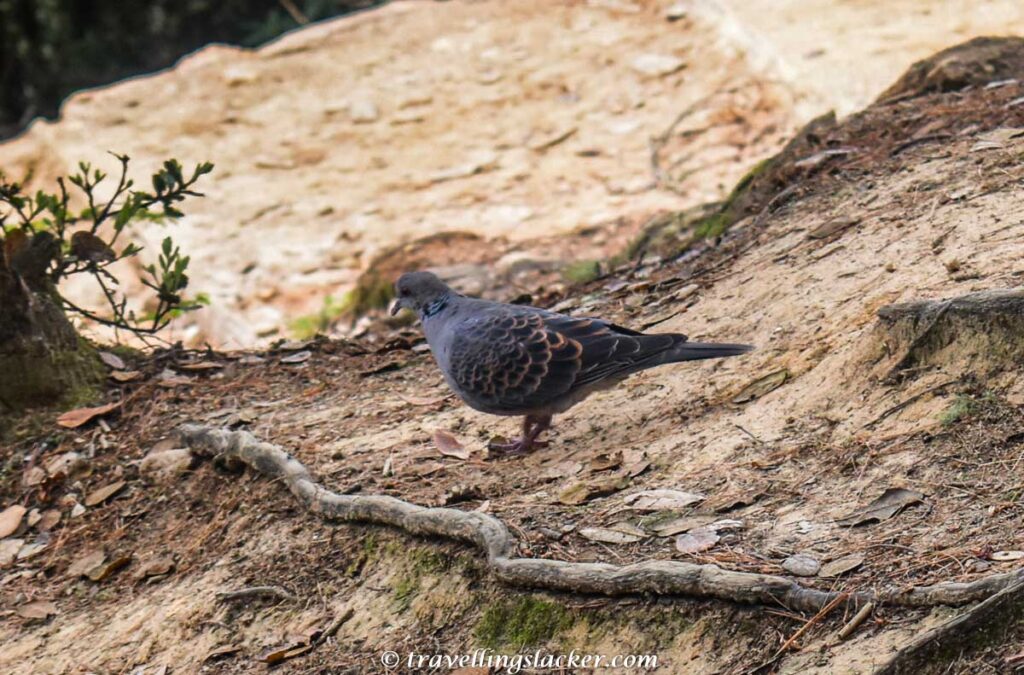
I immediately regretted leaving my heavy zoom lens behind as a lot of birds could be seen at the treating stretches of the trek. A couple of birds were fearless enough to not fly away at the mere sight of humans and even with my kit lens, I managed to clock a white-throated laughingthrush and an oriental turtle dove.
Difficulty Level
I have heard some people talking fearfully about this trek but they are probably not regular trekkers. It is an easy baby trek that does not even take half a day if you start on time and if you are used to any kind of hiking.
It’s Rhododendron Trek!
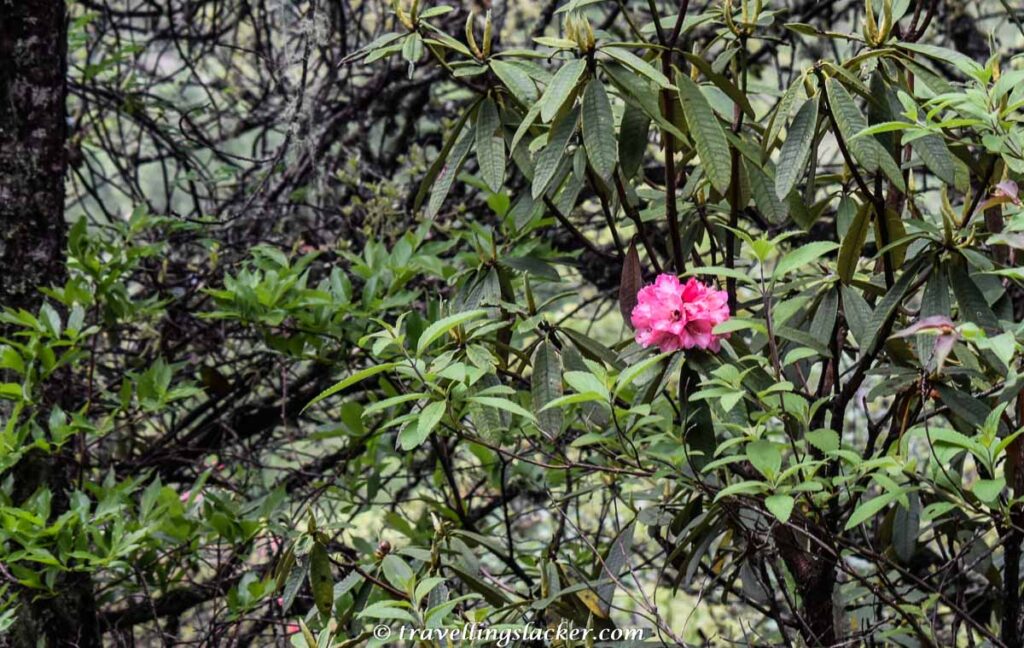
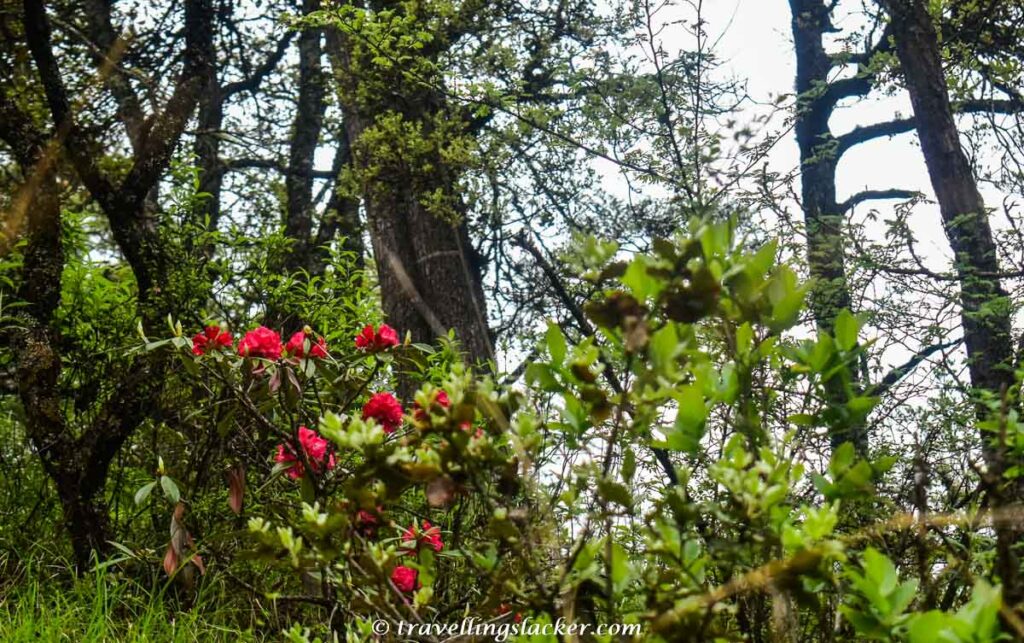
This is one thing I had not heard about this trek before probably because not everyone takes rhododendrons seriously like I do. It was July, way past spring. So, I was not even expecting. However, after around half an hour of trekking, we came across the watermill chakra that I mentioned before. The chakra is inside a small house and I noticed that local devotees have left fresh rhododendrons here. So, I knew that the spring had not completely left Bhutan and soon, I started spotting them. It was of course not the delirious bloom of peak spring but I saw enough. That is why, I think I should add this to my list of Top Rhododendron Treks in the Himalayas to be visited in March and April. Somehow I do not have very good images of the watermill chakra itself but you can see it in the video I have pasted at the end of this post.
Resthouse and Facilities

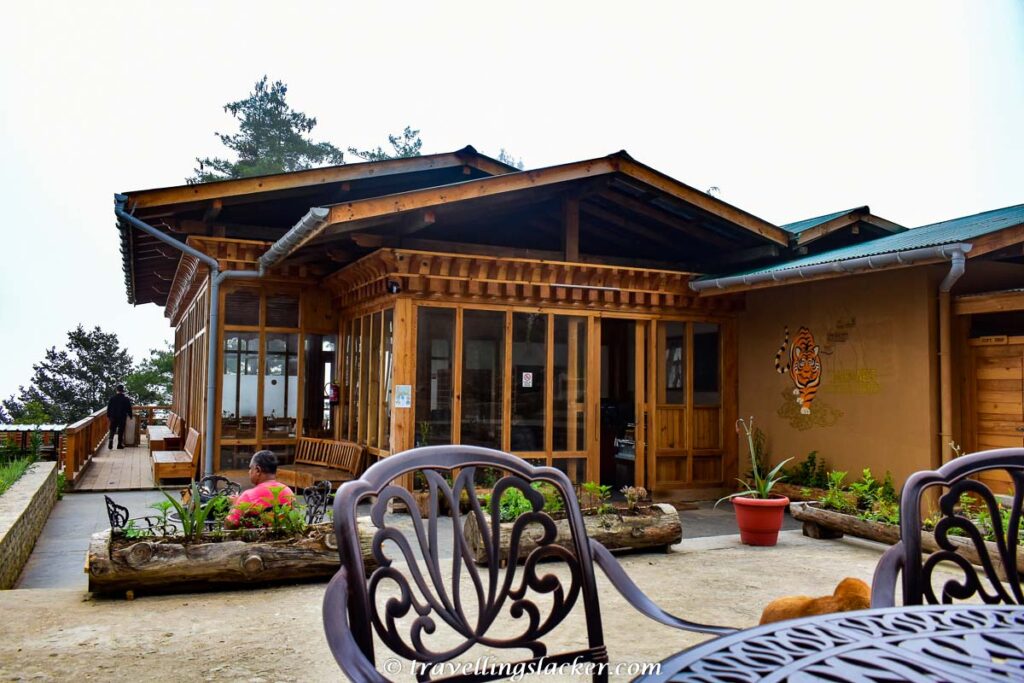
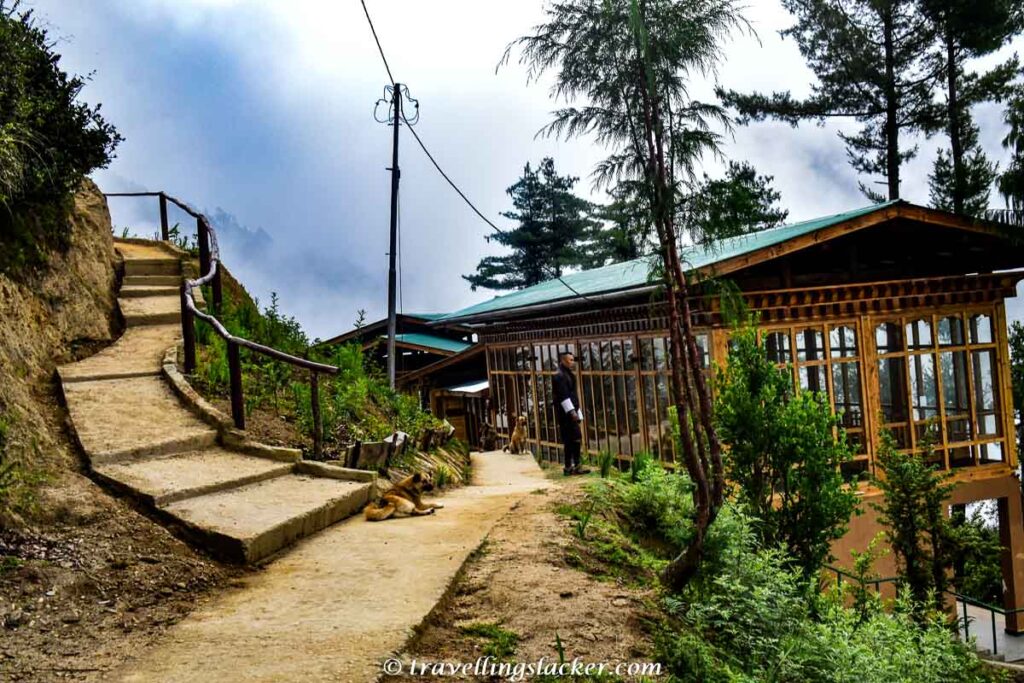
After around an hour or so, we reached the resthouse at the midpoint, which is the official resting point that serves food and drinks. Unlike the rugged facilities you expect in a trek, it is a fancy structure with washrooms and enough places to sit and ogle at the Tiger’s Nest which is clearly visible from here although most kept returning to obscure the views.
At The Tiger’s Nest
We resumed the hike after some refreshments and within another hour or so, we reached that ultimate point from where all typical photographs of the monastery are clicked.
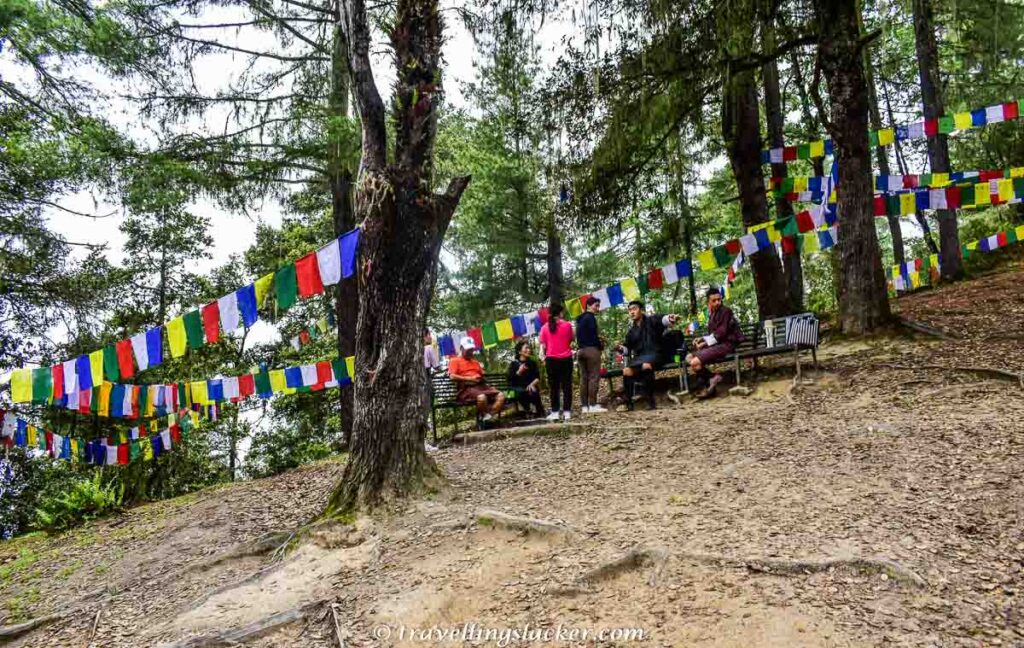
The trail goes down a bit after this point to reach the monastery but as we didn’t have tickets, this was where we stopped. It was already drizzling by that time and so we spent half an hour clicking pictures and taking out our raincovers. We saw a few locals cross us and proceed towards the monastery and after a while, having clicked enough pictures, decided to return.
The rain has been getting heavier. So, we reluctantly brought out the rain covers for the bags, put the camera inside, and started hiking back. The descent was a bit faster than expected and we were done with the whole trek by 1 AM. Out guides suggested that we stop at a restaurant on the way before reaching Paro, where we had a good meal.
Hiring Guides for Tiger’s Nest
This trek does not really require a guide. However, as mentioned in the earlier posts, due to strict rules in Bhutan, you will have to go everywhere with a guide and so, the same guide will be with you here too.
Stone Bath
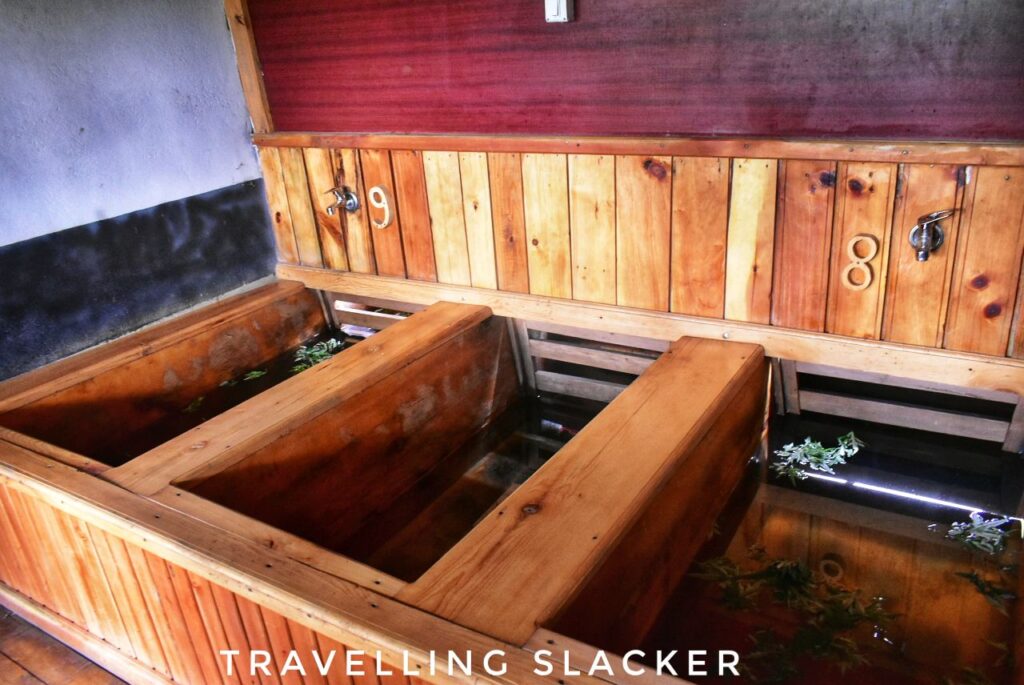
Later that day, we also went to the famous hotstone bath of Bhutan. It’s a traditional method of boiling water with red hot stones while adding medicinal herbs to the water. We visited a small village near Paro for the same. It costs a lot of money but after a hike, you may consider this to reward your muscles.
Further Reading
Read my Bhutan Travel Guide for more practical details.
Video from Tiger’s Nest Trek
So, this was more or less about Tiger’s Nest. I still have a few more things from Bhutan to share. Hopefully, I can wrap them faster. Here is the video footage from the trek.

